My anticipated 2 hours of dress-making morphed into slightly longer. The dress is made up of 4 rectangles which you’d think would be quick and simple, but as an unknown russian knitting blogger quoted by the ever-excellent carmela once said – “it is the precision and mastery of the details that make the difference between a beautiful garment and granny’s vest”. This was one of the best things I’ve ever read about making a wearable garment. I often think back to it.
This dress could have looked completely dreadful, but I was rather hoping it wouldn’t.
There were a couple of unexpected challenges:
+ cutting giant rectangles without pattern pieces and ensuring you don’t end up with a parallelogram (or even worse, a trapezium). I’m thankful for the sisal rug, a t-square and the retractable tape measure from the toolbox.
+ the fabric was quite textured, slippery and had a slight stretch, so cutting and sewing evenly was rather laborious.
+ pockets were never going to be realistic in this fabric (see above), so I abandoned that idea quite early on.
The overlocker (serger) was absolutely genius and made for stellar finished edges. I really need to investigate how to properly use it – there’s an instructional DVD and booklet which I’ve cheerfully ignored (as I’ve mostly cheerfully ignored the overlocker). Another project for the endless list.
Save for the pockets I mostly stuck to the plan. I realised mid-way through that no matter how simple the elements of the dress are, to make this you need to have a pretty solid understanding of the process of garment construction. I think I often under-estimate my skills and knowledge (in most areas). I mean, it’s not a blazer or a wedding dress, but you need to know what bits to sew when.
On with the pix.
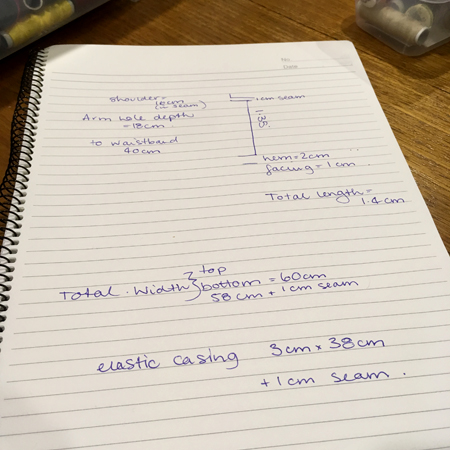
dimensions – my “pattern”
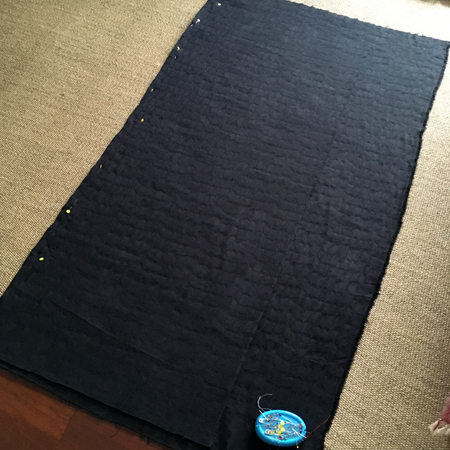
cutting on the rug
The precision and mastery of detail had me pinning and then basting everything. The basting was time-consuming but made for a much more even seam – especially with the slippy fabric.
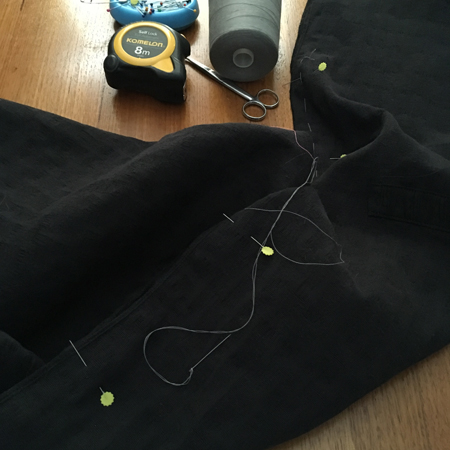
basting and tools – that tape-measure was amazingly helpful
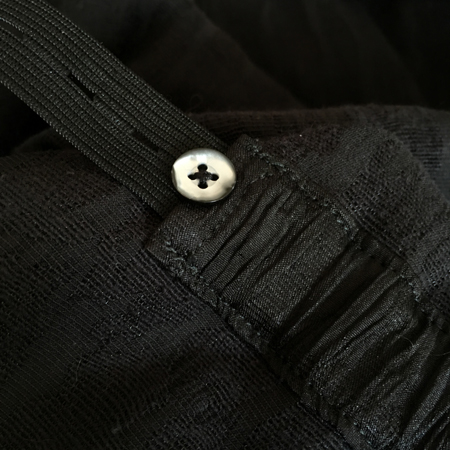
inside – elastic casing
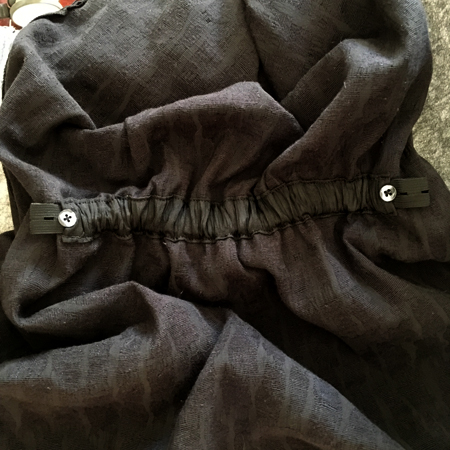
inside – adjustable elastic waist
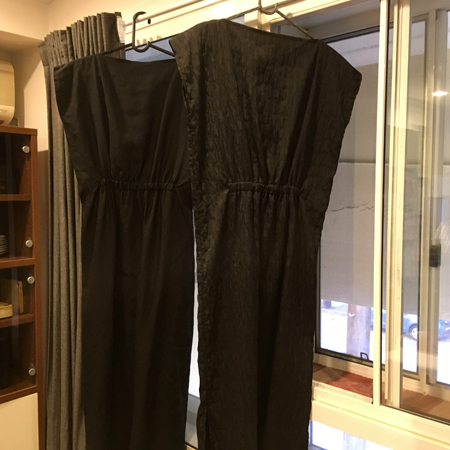
twins! side by side comparison
After all that I was pretty pleased with the result.
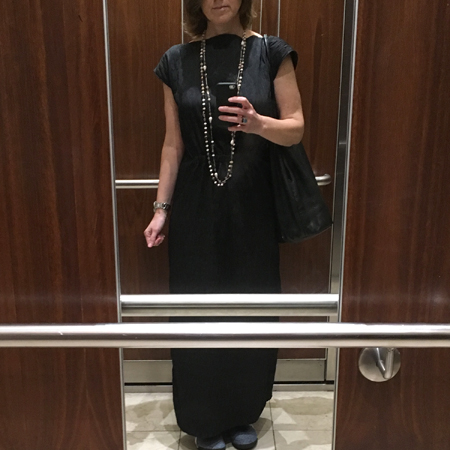
ACTION SHOT!
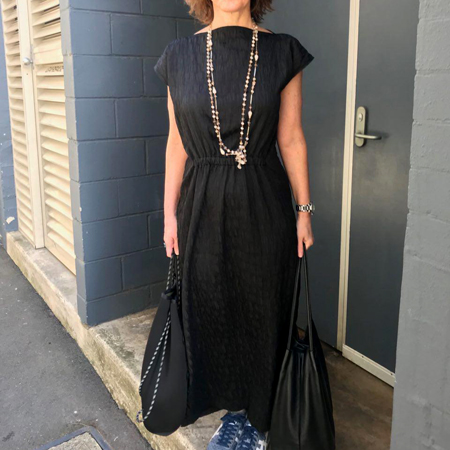
ACTION SHOT! too many bags
It was a very hot day and I was expecting to cook because it’s definitely 1000% synthetic. I was pleasantly surprised to be reasonably cool – I suspect the loose fit helped with that.
I ran into JackieChan (our very zany IT Manager) in the lift on the way in to SML, we exchanged greetings and he commented “hey, nice dress” and I kept it all casual with a “thanks, I made it on the weekend”. He responded with a “no way! that’s awesome! are you joking? that’s awesome! you’re joking right? No way!” and called his amazement out to colleagues when we got into the office. Gratifying!
I do think though that I’ll save it for evenings and holidays – it’s a little too shiny for a casual office.

So chic
Many thanks! Possibly the spotty tigers weren’t the chic-est of accompanying footwear, but I’m all about the sneakers these days – and am all about embracing the quirky old lady look.
It’s fab! Am so impressed by the elastic casing bit. Must look up how to do that properly. You’ve inspired me to make something this weekend.
Oh I definitely recommend making something! It really did shift my malaise (for a time anyway).
I’d not seen that style of casing anywhere before I bought the original dress. It’s quite clever and uses that holey adjustable elastic sometimes found in children’s clothing. To be honest I am unlikely to adjust it, so probably could have just sewn it in, but I was aiming for verisimilitude!
And thank you!
Wow! It’s beautiful! You look so elegant! I’m in awe of your skillz 🙂
Thanks Shauna!
I swear, you could totally make this. It really is just two rectangles sewn together.