May was a pretty crafty month for me with several new things attempted. I have no idea why cropping, uploading and linking photos has become an incredibly daunting task, but I’ll try and break through that barrier and share some of my makes – even if 3 months late.
Cyanotypes are possibly having a moment – at least they are in the carolbaby InformationSuperhighway world I inhabit. I really respond well to that kind of indigo colour, so I was very keen to give it a crack. I considered attending a class, because we all know I utterly adore crafty classes, but then I found a kit on etsy and thought it was an excellent low-stakes way to have a first crack.
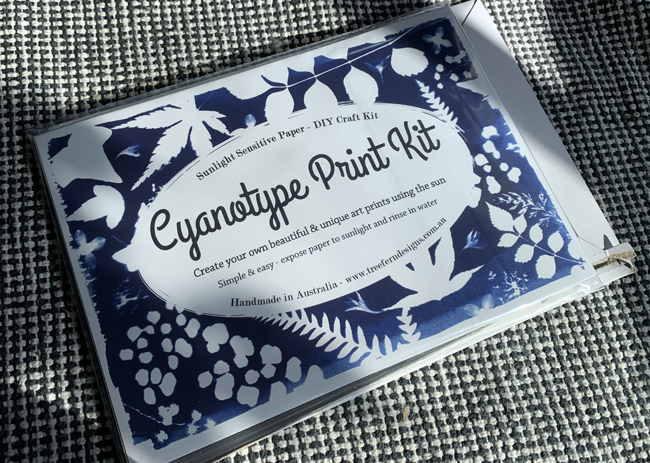
excellent kit – would recommend
Botanical prints are very lovely, but what I really like best are cyanotype photo prints – but photo negatives are so impossibly teensy tiny, that I figured this was off the table for me. Surely you must need some sort of professional equipment?
I couldn’t let the idea of photos go though – and ruminated for a bit and then realised I could possibly replicate a large negative using transparency paper (I have a pack from Bessie’s school days – yay for hoarding!) and inverting the colour in photoshop.
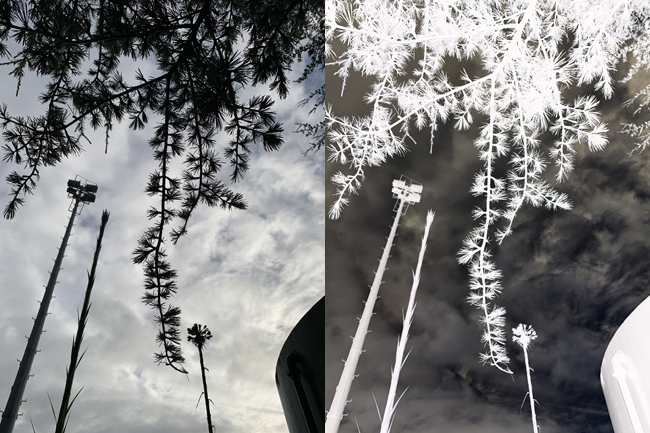
It worked a treat and I felt like a genius – though later discovered that if I’d googled I would have easily found the answer. But yay for using my brain to problem solve.
Armed with my transparency and an x-ray of my hand, I was all set!
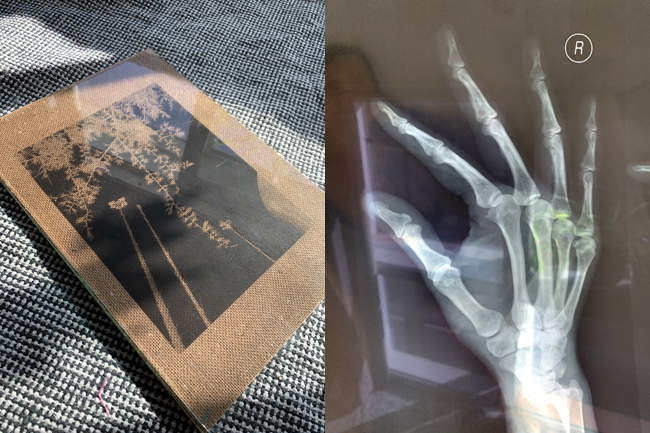
The process is pretty straightforward when using a kit – lay your transparency on the pre-treated paper, cover with plastic or glass, expose to light for a time and then rinse.
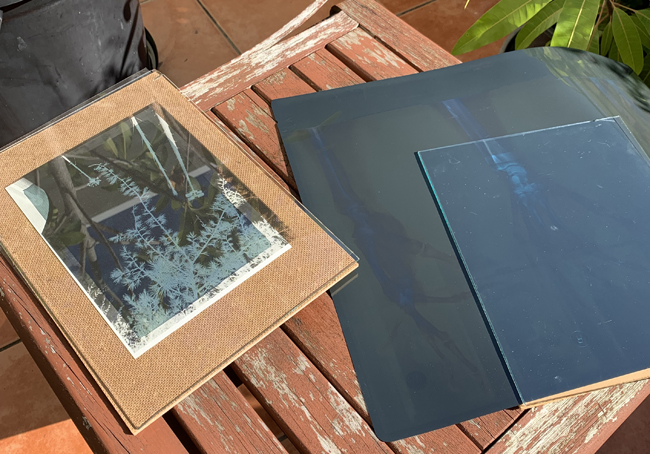
cover and expose to sunlight
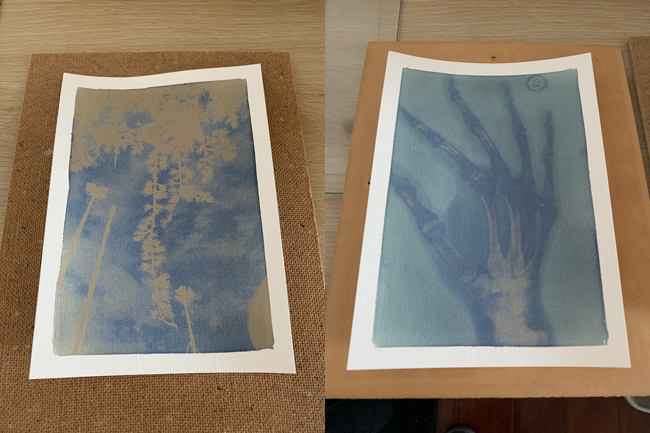
post-exposure, pre-rinse
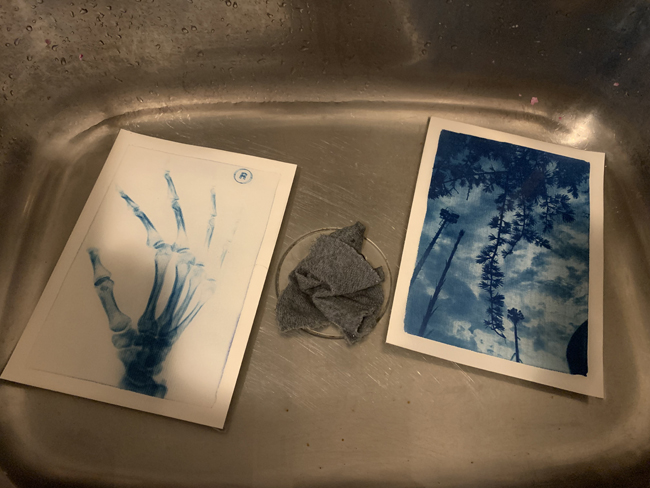
rinsing: images revealed
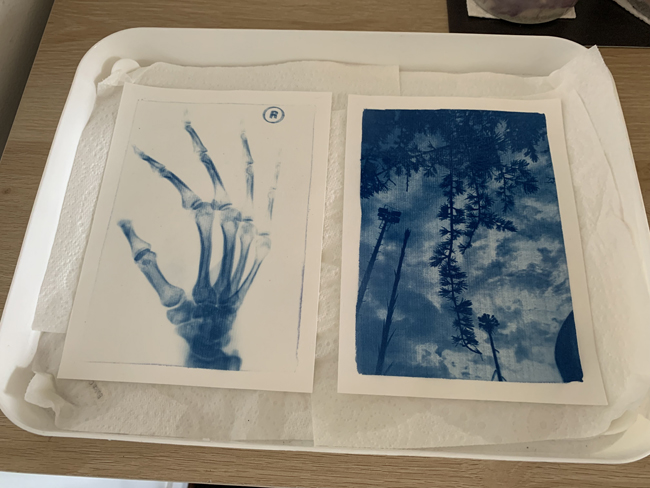
drying: colour developing
I am thrilled with the photo, less so with the hand because it faded quite a lot afterward.
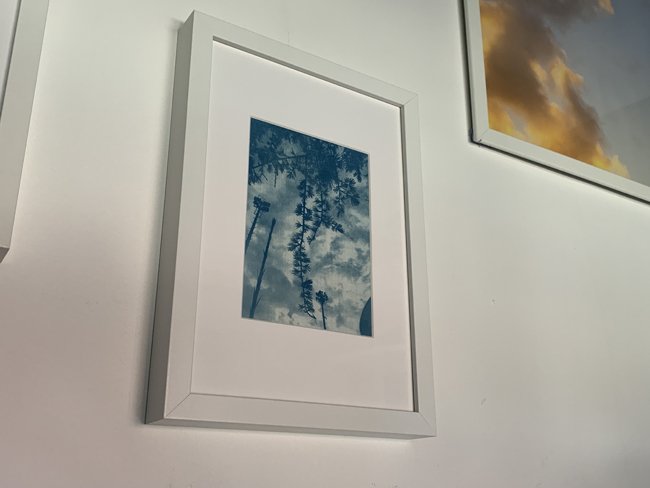
pleasing!
I’m definitely considering that class now – and very keen to try printing on fabric. But I’ll first try a few experiments with the remaining paper from the kit.
